My grandmother used to make banana pudding for every family gathering when I was growing up. Last summer, I decided to give her classic recipe a fruity makeover by adding fresh strawberries, and honestly, it might be better than the original. Don’t tell Grandma I said that though. The combination of sweet bananas and tangy strawberries with that creamy vanilla pudding creates something truly special that disappears from the table in minutes.
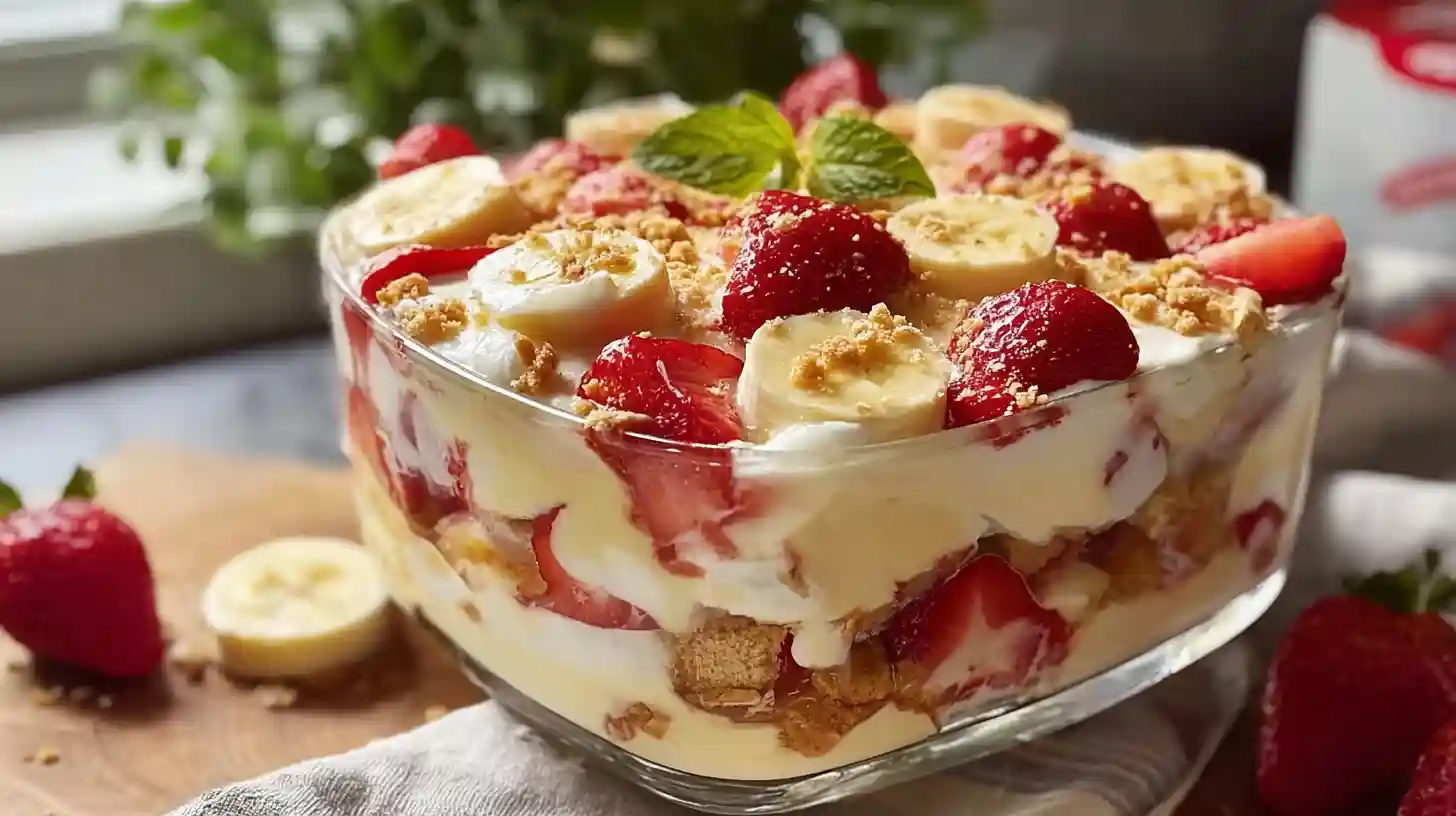
Strawberry Banana Pudding Dream is the kind of dessert that makes you look like a baking superstar without breaking a sweat. No oven required, just 20 minutes of layering ingredients and then letting the fridge do its magic. The vanilla wafers soften into cake-like layers while the pudding seeps into every crevice. It’s pure comfort food with a fresh, fruity twist that works for potlucks, birthday parties, or Tuesday nights when you need something sweet.
Why This Dessert Works
The secret lies in the balance between rich and fresh. Cream cheese and sweetened condensed milk create an ultra-creamy base that’s somehow lighter than traditional pudding. Fresh fruit keeps things from getting too heavy, while those vanilla wafers add just enough crunch that softens into something cake-like after chilling. Everything melds together into one cohesive dessert where you can taste each component but they all work as a team.
I love that you can make this ahead and actually need to. The flavors develop as it sits, and the wafers transform from crispy cookies into tender layers. My kids request this for their birthdays instead of cake now, which tells you everything you need to know about how good it is.
Ingredients for Strawberry Banana Pudding Dream
- 2 boxes (11 ounces each) vanilla wafer cookies
- 6 to 8 medium bananas, sliced into rounds
- 2 cups whole milk
- 1 pound fresh strawberries, hulled and sliced
- 1 box (5 ounces) instant French vanilla pudding mix
- 8 ounces cream cheese, softened to room temperature
- 1 can (14 ounces) sweetened condensed milk
- 12 ounces whipped topping, thawed if frozen
- Extra strawberries and banana slices for garnish
How to Make It
Prepare the Creamy Base
Start by getting your cream cheese to room temperature if you haven’t already. Cold cream cheese creates lumps that refuse to blend no matter how hard you try. In a large mixing bowl, beat together the softened cream cheese and sweetened condensed milk using a hand mixer on medium speed. Keep mixing for about 2 minutes until the mixture turns completely smooth and creamy without any lumps. This forms the rich foundation of your pudding dream.
Mix in the Pudding
Add the instant French vanilla pudding mix and whole milk to your cream cheese mixture. Beat on low speed at first to prevent a powder explosion in your kitchen. Once it’s incorporated, increase to medium speed and mix for about 2 minutes. The mixture will thicken up nicely and turn into this luscious, pale yellow pudding that smells like heaven. Set this aside while you prep your fruit and gather your serving dish.
Slice Your Fruit
Peel and slice your bananas into rounds about a quarter inch thick. Try to keep them fairly uniform so they layer evenly. Hull your strawberries by cutting off the green tops, then slice them lengthwise into quarters or halves depending on size. Having all your fruit prepped before you start layering makes the assembly process so much smoother and prevents those bananas from browning while you work.
Start Layering
Grab a large glass serving dish or trifle bowl so everyone can admire those beautiful layers. Begin with a single layer of vanilla wafers covering the entire bottom. Arrange them in a circle pattern starting from the outside and working your way in. Top the wafers with a layer of sliced bananas, followed by a layer of sliced strawberries. The fruit should cover most of the cookies but doesn’t need to be perfectly edge to edge.
Add the Pudding Mixture
Spoon about half of your pudding mixture over the fruit and cookies. Use the back of your spoon to spread it gently and evenly, making sure it reaches the edges. The pudding will sink down between the fruit pieces and soak into the wafers, which is exactly what you want. Don’t worry about making it perfectly smooth since you’ll be adding more layers on top anyway.
Repeat the Layers
Build your second tier using the same order. Another layer of vanilla wafers, more banana slices, strawberry slices, and then the remaining pudding mixture spread over everything. This double-decker approach creates those gorgeous striped layers that make this dessert so impressive. Some people like to do three thinner layers, which works great too if you have a deeper dish.
Top with Whipped Cream
Spread the entire container of whipped topping over your final pudding layer. You can go for smooth and elegant or create swirls and peaks for a more dramatic look. I like to add some fresh strawberry slices and a few banana rounds on top for garnish. Cover the dish tightly with plastic wrap, making sure the wrap touches the surface to prevent a skin from forming. Refrigerate for at least 4 hours, though overnight is even better.
Pro Tips for Success
Use ripe but firm bananas. Too green and they taste starchy, too ripe and they turn mushy and brown. Look for bananas with a bright yellow peel that might have a few tiny brown speckles. Those are perfect for slicing and will hold their shape in the pudding.
Make this dessert at least 4 hours ahead, but ideally the night before. The waiting time isn’t just for chilling, it’s when the magic happens. The wafers soften, the pudding sets up properly, and all those flavors marry together into something cohesive rather than separate components.
If you’re worried about bananas browning, toss them gently with a tiny bit of lemon juice before layering. Just a teaspoon or two will do the trick without making them taste sour. The pudding layer also helps protect them from oxidizing.
Delicious Variations
Add a chocolate layer by mixing chocolate pudding between the vanilla layers. Use one box of each flavor and alternate them for a chocolate-strawberry-banana combination that tastes like a banana split. Kids especially love this version.
Swap the vanilla wafers for graham crackers if that’s what you have on hand. Chocolate graham crackers work beautifully too and add a subtle cocoa flavor that complements the fruit. The texture turns out slightly different but equally delicious.
Make individual portions in mason jars or clear plastic cups. Layer everything the same way but in smaller quantities. These are perfect for parties, picnics, or meal prep since everyone gets their own serving and you can see those pretty layers from the side.
Troubleshooting Common Issues
If your pudding seems too thin and runny, you might not have mixed it long enough. Beat it for the full 2 minutes to activate the thickening agents in the pudding mix. It should thicken significantly as you mix and will firm up even more in the refrigerator.
Bananas turning brown means they were either too ripe to begin with or the dessert sat out too long before chilling. Always use slightly underripe bananas and get the dessert into the fridge as quickly as possible after assembly.
Watery pudding happens when you use low-fat ingredients. Stick with full-fat cream cheese, regular sweetened condensed milk, and whole milk for the best consistency. Light versions just don’t have the same structure and can separate or weep liquid.
Smart Ingredient Substitutions
Greek yogurt can replace half the cream cheese for a tangier, slightly lighter version. Use 4 ounces of cream cheese and 4 ounces of full-fat Greek yogurt. The texture stays creamy but you get a subtle tang that’s really nice with the sweet fruit.
No French vanilla pudding? Regular vanilla instant pudding works perfectly fine. You could even try banana cream or cheesecake flavor for something different. Just stick with instant pudding rather than cook-and-serve since this is a no-bake recipe.
Fresh whipped cream beats the packaged stuff hands down if you have time. Whip 2 cups of heavy cream with 2 tablespoons of powdered sugar until stiff peaks form. The flavor is cleaner and less artificial tasting, though the convenience of ready-made whipped topping can’t be beat.
Storage and Serving Tips
Keep this dessert covered in the refrigerator for up to 3 days. The wafers will continue softening over time, becoming more cake-like with each passing day. Some people actually prefer the texture on day two or three when everything has really melded together. The strawberries might release a bit of juice, but that just adds more flavor.
This doesn’t freeze well because of the fresh fruit and dairy components. The bananas turn black and mushy, the strawberries get watery, and the texture of the cream becomes grainy. Just make what you’ll eat within a few days and enjoy it fresh from the fridge.
Serve it cold straight from the refrigerator. Use a large spoon to scoop down through all the layers so each serving has wafers, fruit, and pudding. A glass serving dish really shows off the layers, but an opaque dish works fine too if that’s what you have.
Frequently Asked Questions
Can I make Strawberry Banana Pudding Dream the day before?
Absolutely, and I actually recommend it. The dessert needs at least 4 hours to chill properly, but making it a full day ahead allows the flavors to develop even more. The wafers soften to the perfect texture and everything melds together beautifully. Just keep it covered tightly in the fridge.
What can I use instead of cream cheese?
Full-fat Greek yogurt or mascarpone cheese both work as substitutes. Greek yogurt gives you a tangier flavor and lighter texture, while mascarpone keeps things rich and creamy like the original. Avoid low-fat options since they can make the pudding watery or cause it to separate.
How long do leftovers last?
Store covered in the refrigerator for up to 3 days. The dessert actually tastes better on day two after the flavors have melded, though the wafers will be softer. The bananas may start to brown slightly around the edges but they’re still perfectly safe and tasty to eat.
Can I use frozen strawberries?
Fresh strawberries work best for texture and appearance, but thawed frozen berries can work in a pinch. Make sure to drain them extremely well on paper towels to remove excess moisture. The extra liquid from frozen berries can make your pudding watery, so really blot them dry before layering.
Is this suitable for a gluten-free diet?
Not as written since vanilla wafers contain wheat flour. However, you can easily make it gluten-free by using gluten-free vanilla wafer cookies or gluten-free graham crackers. Check that your pudding mix is also labeled gluten-free, though most major brands are.
Strawberry Banana Pudding Dream
Ingredients
Equipment
Method
- In a large mixing bowl, beat together softened cream cheese and sweetened condensed milk using a hand mixer on medium speed for 2 minutes until completely smooth and creamy.
- Add instant French vanilla pudding mix and whole milk to the cream cheese mixture. Beat on low speed first, then increase to medium and mix for 2 minutes until thickened. Set aside.
- Peel and slice bananas into quarter-inch rounds. Hull and slice strawberries lengthwise into quarters or halves.
- In a large glass serving dish or trifle bowl, arrange a single layer of vanilla wafer cookies covering the entire bottom.
- Layer sliced bananas over the wafers, followed by a layer of sliced strawberries.
- Spoon half of the pudding mixture over the fruit and cookies, spreading gently to the edges.
- Repeat layering with remaining vanilla wafers, bananas, strawberries, and the rest of the pudding mixture.
- Spread the entire container of whipped topping over the final pudding layer. Create swirls or peaks if desired.
- Garnish with fresh strawberry slices and banana rounds. Cover tightly with plastic wrap and refrigerate for at least 4 hours, preferably overnight.
- Serve cold, scooping down through all layers to get wafers, fruit, and pudding in each serving.
Notes
- Use ripe but firm bananas for best texture and to prevent browning.
- Make at least 4 hours ahead, but overnight is ideal for flavors to meld.
- Toss banana slices with a teaspoon of lemon juice to prevent browning.
- Use full-fat ingredients for best consistency and flavor.
- Store covered in refrigerator for up to 3 days.